Get your first ECG scan right!
To help you navigate PMcardio and simplify the process of uploading an ECG and creating an ECG report, here’s a brief guide to help you to make your first ECG scan with PMcardio a success.
As a company that innovates healthcare through technology, we care deeply about the efficiency of medicine. We understand that transitioning to a new digital environment can add extra steps to a healthcare professional’s already crowded responsibilities. That’s why we’ve created a brief guide to successfully digitizing an ECG to help ease the learning curve.
Two simple rules
After successful login, there are only two simple but important rules to follow for correct digitization:
- Match the ECG pictogram in the app to the layout of your ECG recording,
- Make sure that the ECG leads are horizontally positioned.
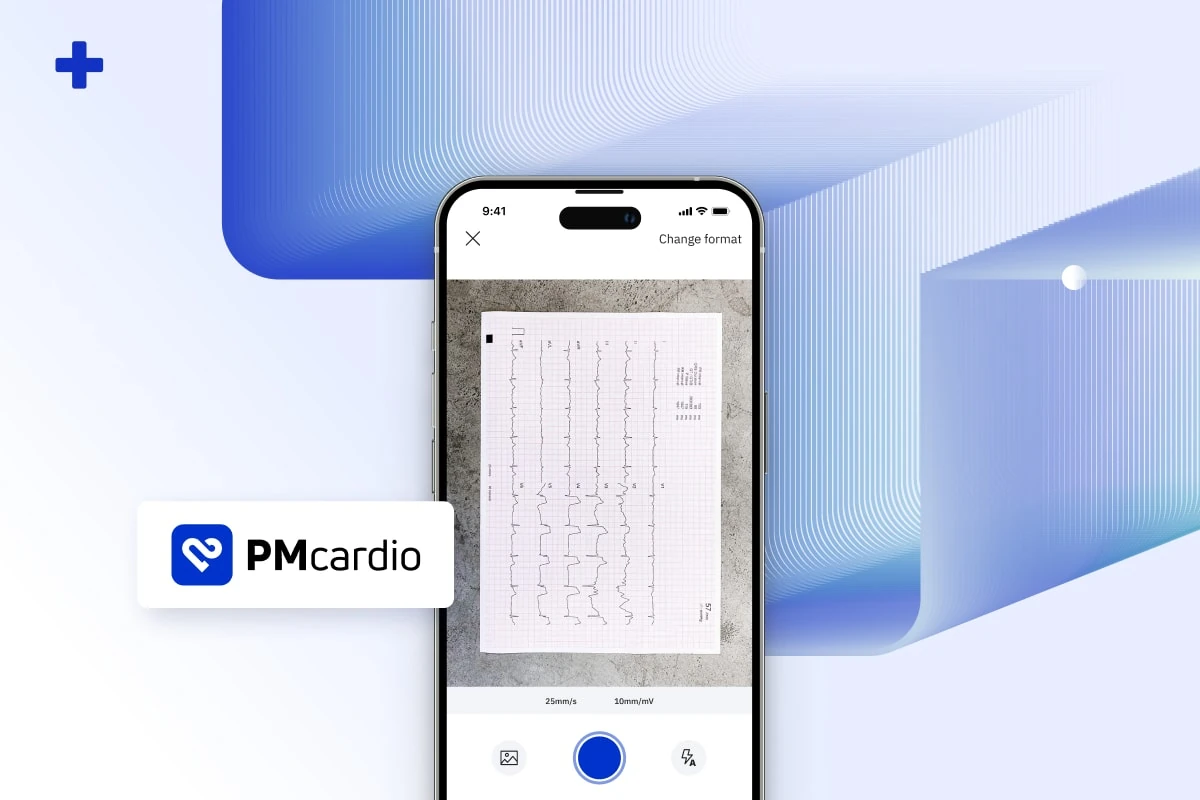
1. The correct ECG layout
When using PMcardio for the first time, you will see several icons showing different ECG layouts – make sure you select the icon that corresponds to the layout (placement and number of leads per page) of the ECG recording you want to scan.
Note: If your 12-lead ECG is printed on multiple pages (e.g. 2 pages with 6 leads per page), make sure to select an option that matches this format and allows you to upload more than one image.
Changing the format
If you come across another ECG layout, you can change the selected format at any time using the “Change Format” button in the upper right corner.
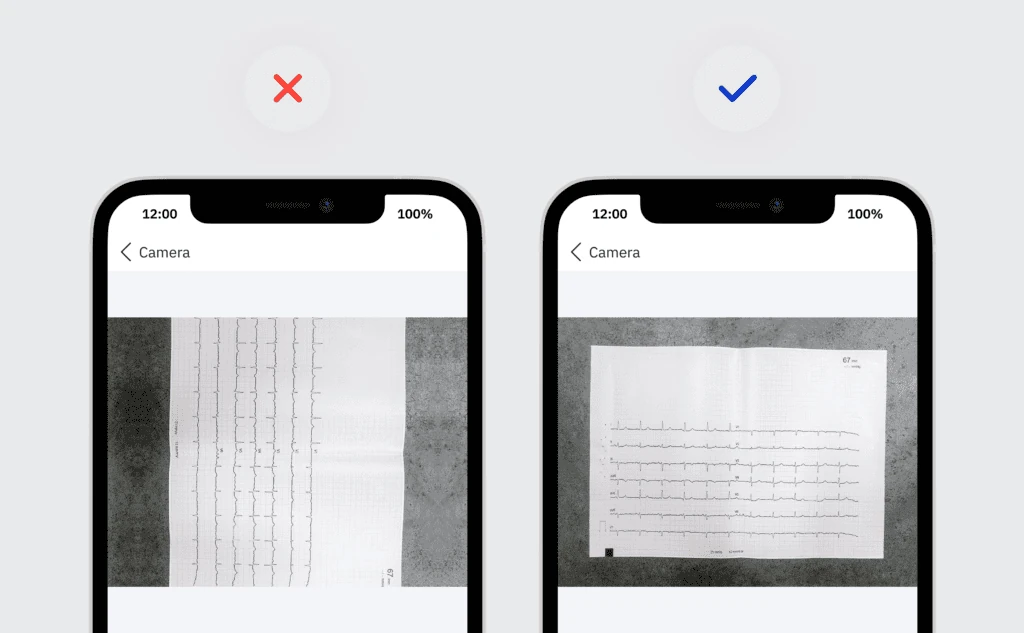
2. Horizontal Rotation
After saving the format and taking a picture, please ensure that the uploaded ECG leads are in a horizontal position. You can rotate the image in the app through the button in the bottom menu.
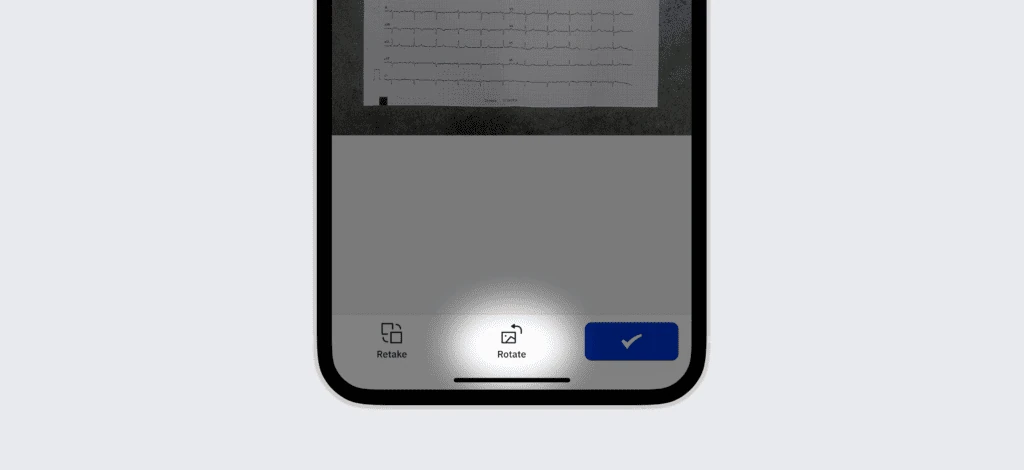
The correct rotation of the uploaded image should be as shown below.
Unlocking the ECG
Once the ECG is successfully uploaded, you just need to fill in the rest of the information – the reason for the ECG examination, gender, and age.
Use the knowledge from millions of previous cases to train yourself in ECG interpretation, patient management, and treatment options!
Share this article
About PMcardio
PMcardio is a CE-marked Class IIb AI medical device that interprets any 12-lead ECG — from a photo or a digital file — in seconds. It detects 50+ ECG findings, including occlusion myocardial infarction (OMI) — the acute coronary occlusions that conventional STEMI criteria miss in over half of cases. Its Queen of Hearts™ OMI model holds FDA Breakthrough Device Designation, and PMcardio is already used by 100,000+ clinicians who have analyzed more than 2.5 million ECGs.
About Powerful Medical
Powerful Medical is a medical-technology company using artificial intelligence to transform how cardiovascular disease — the world’s leading cause of death — is diagnosed. Founded in 2017, it built PMcardio, the world’s first AI medical device to detect acute coronary occlusion (OMI) from an ECG. Its research is published in the European Heart Journal – Digital Health and validated across 25+ clinical studies, and its Queen of Hearts™ model earned FDA Breakthrough Device Designation. To date, PMcardio has supported the detection of 120,000+ heart attacks across 150+ hospital deployments worldwide.